
HMI Quality Check
An HMI proof of concept using custom shapes and forms to match the interiors that Faurecia has rolling down their assembly line.
Ideation Phase
Ideation began looking at parts from the customer and how to integrate shapes and forms to create a unique HMI UI that looks and feels on brand with the customer.


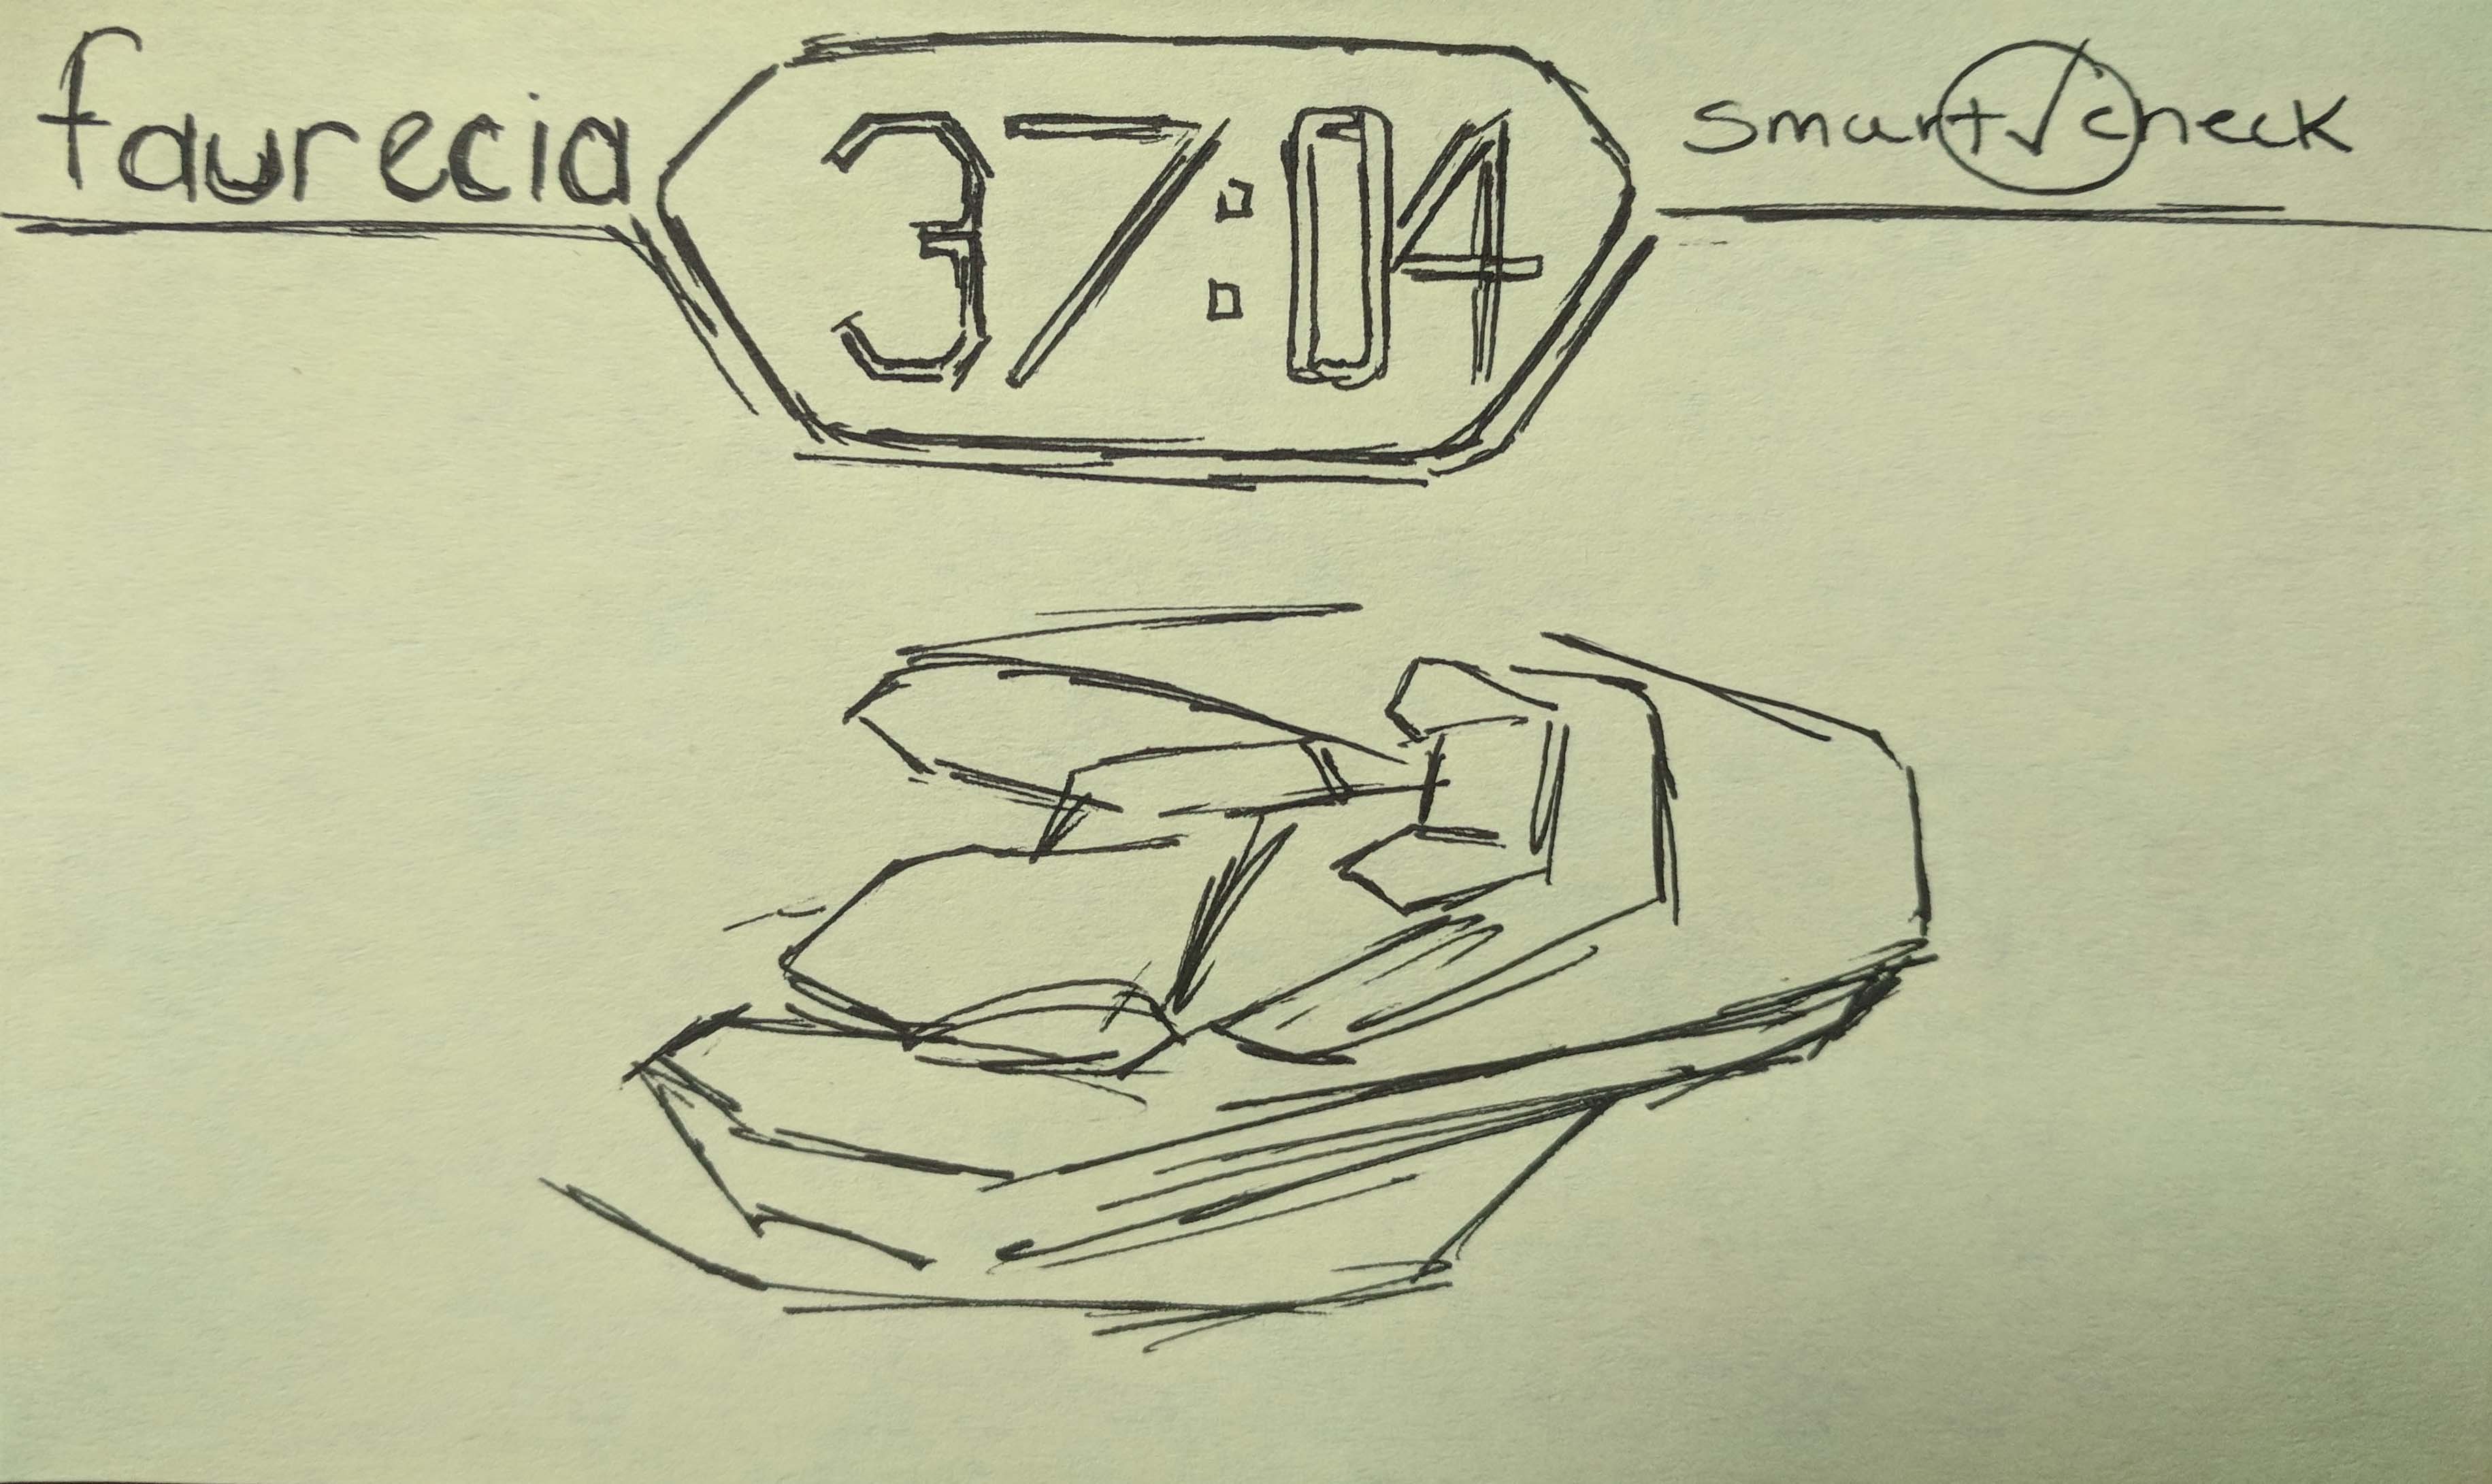
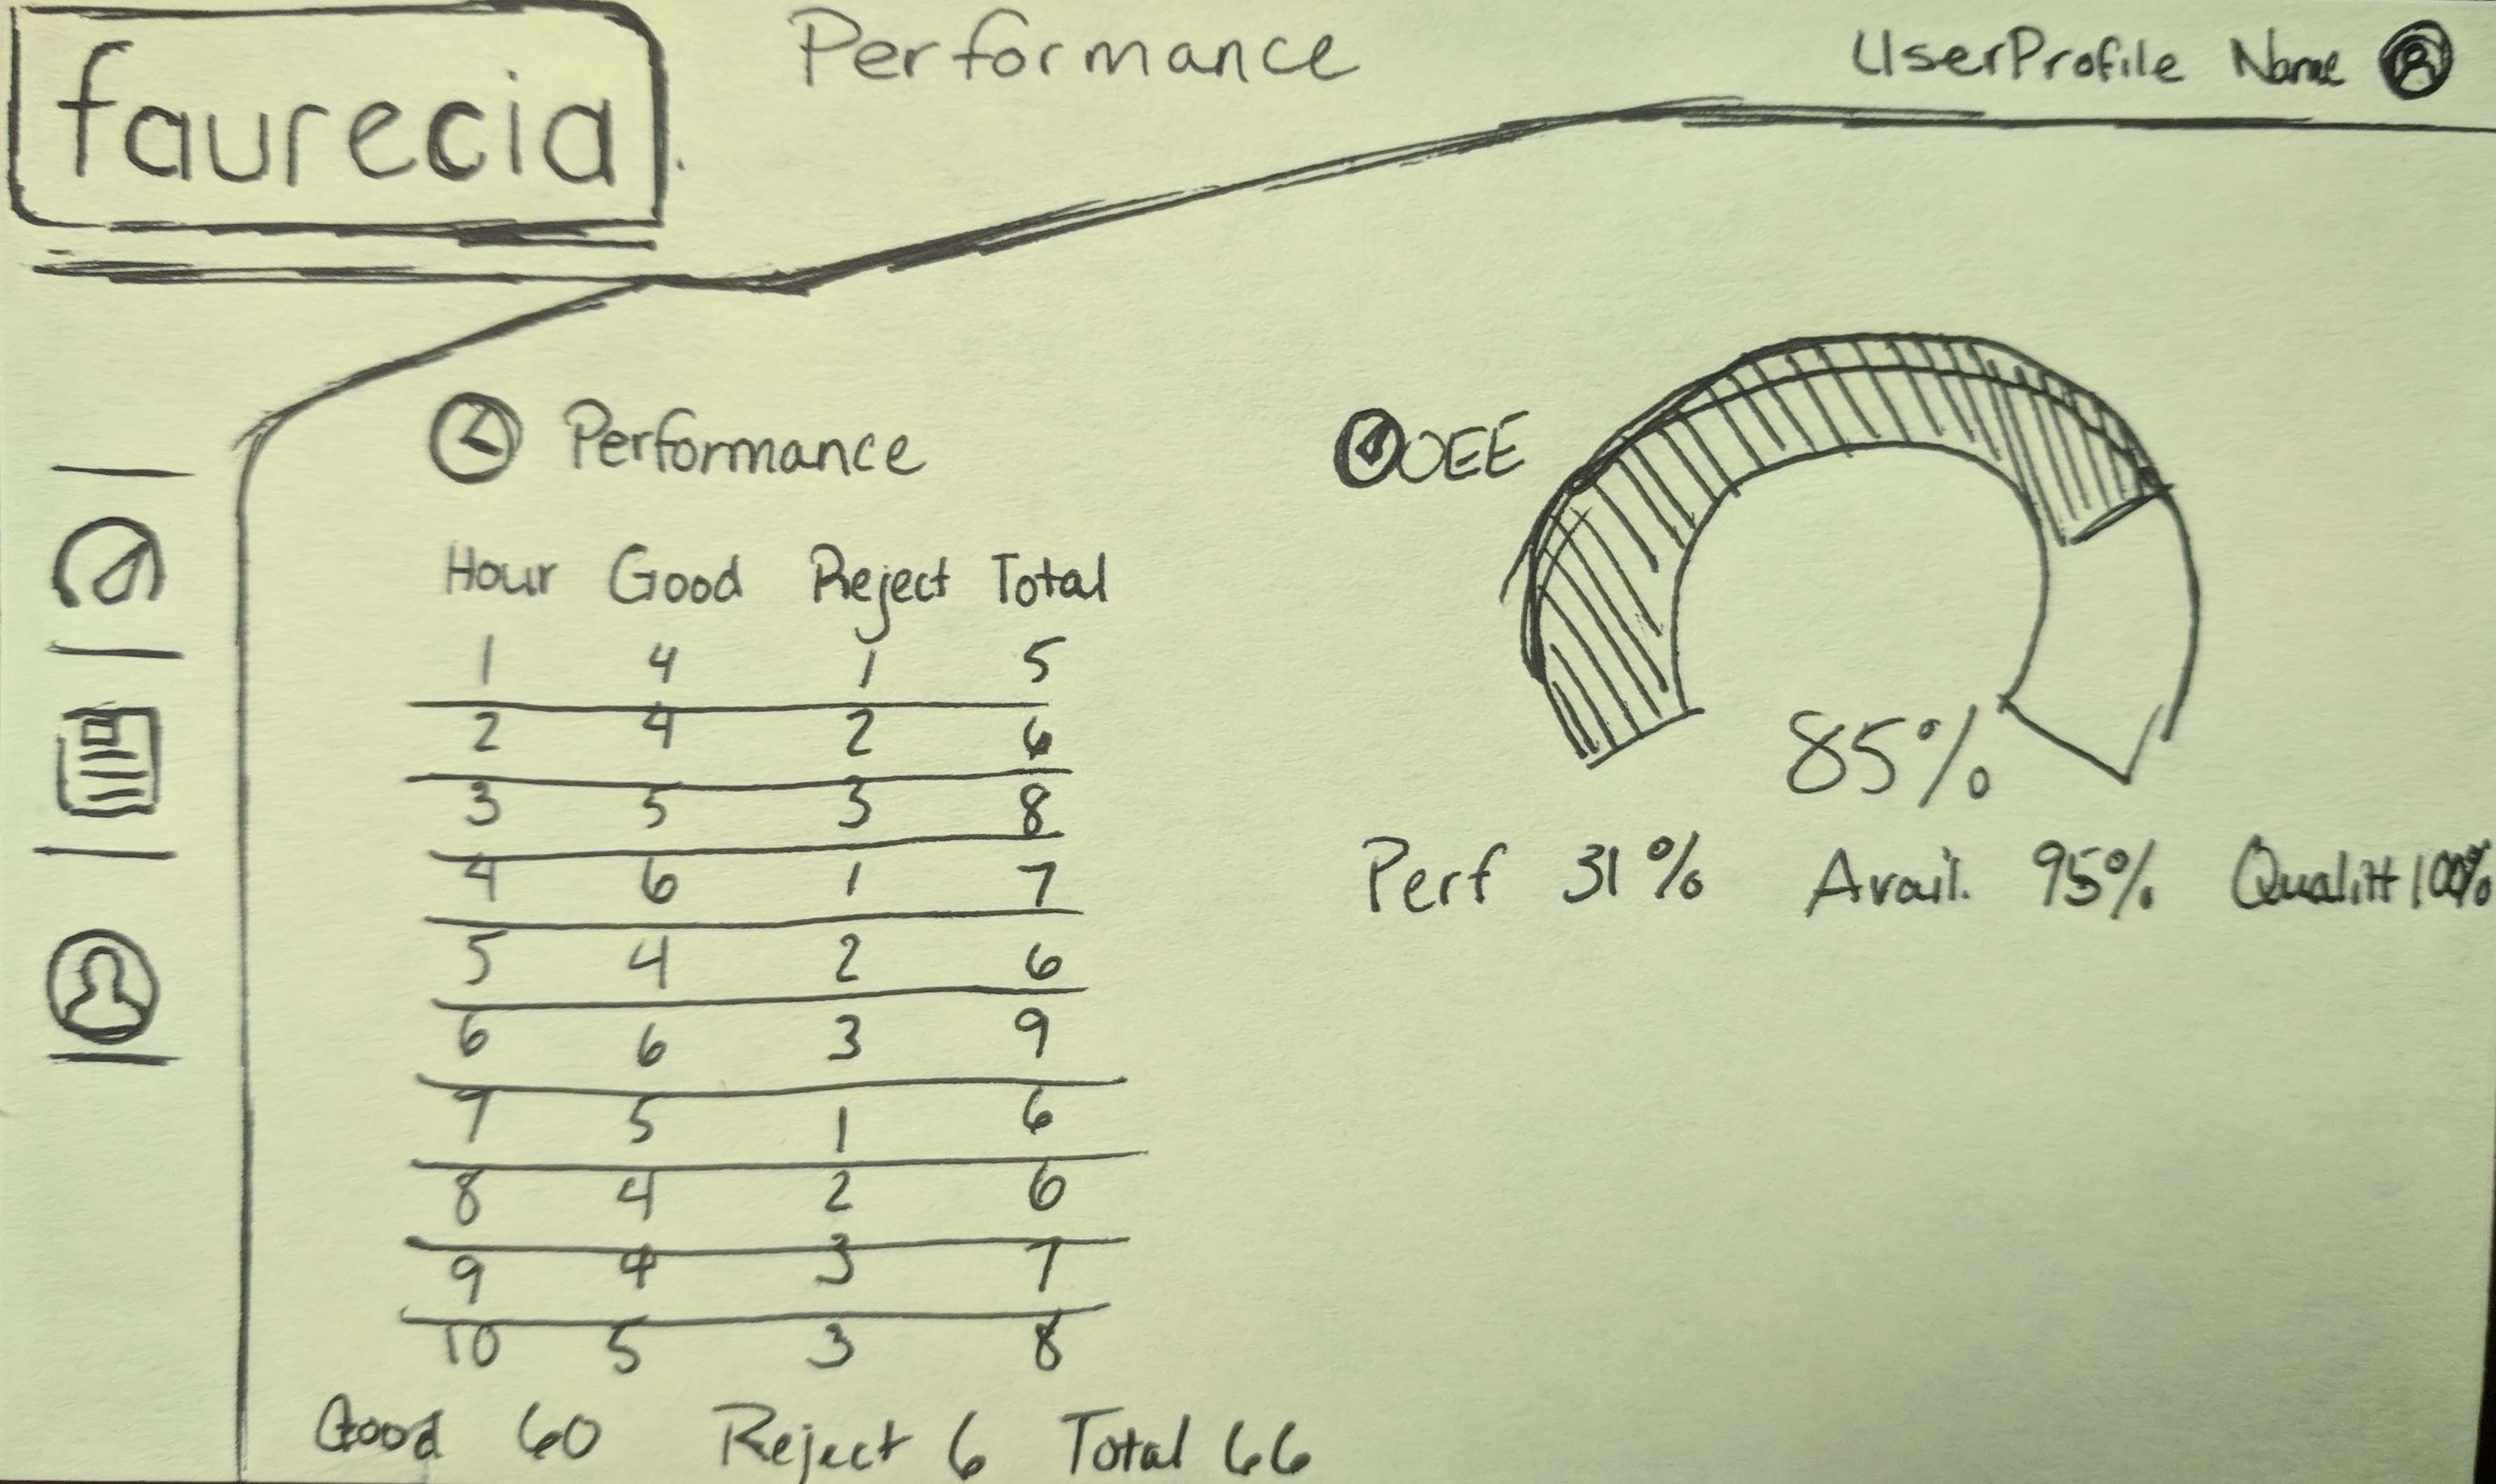
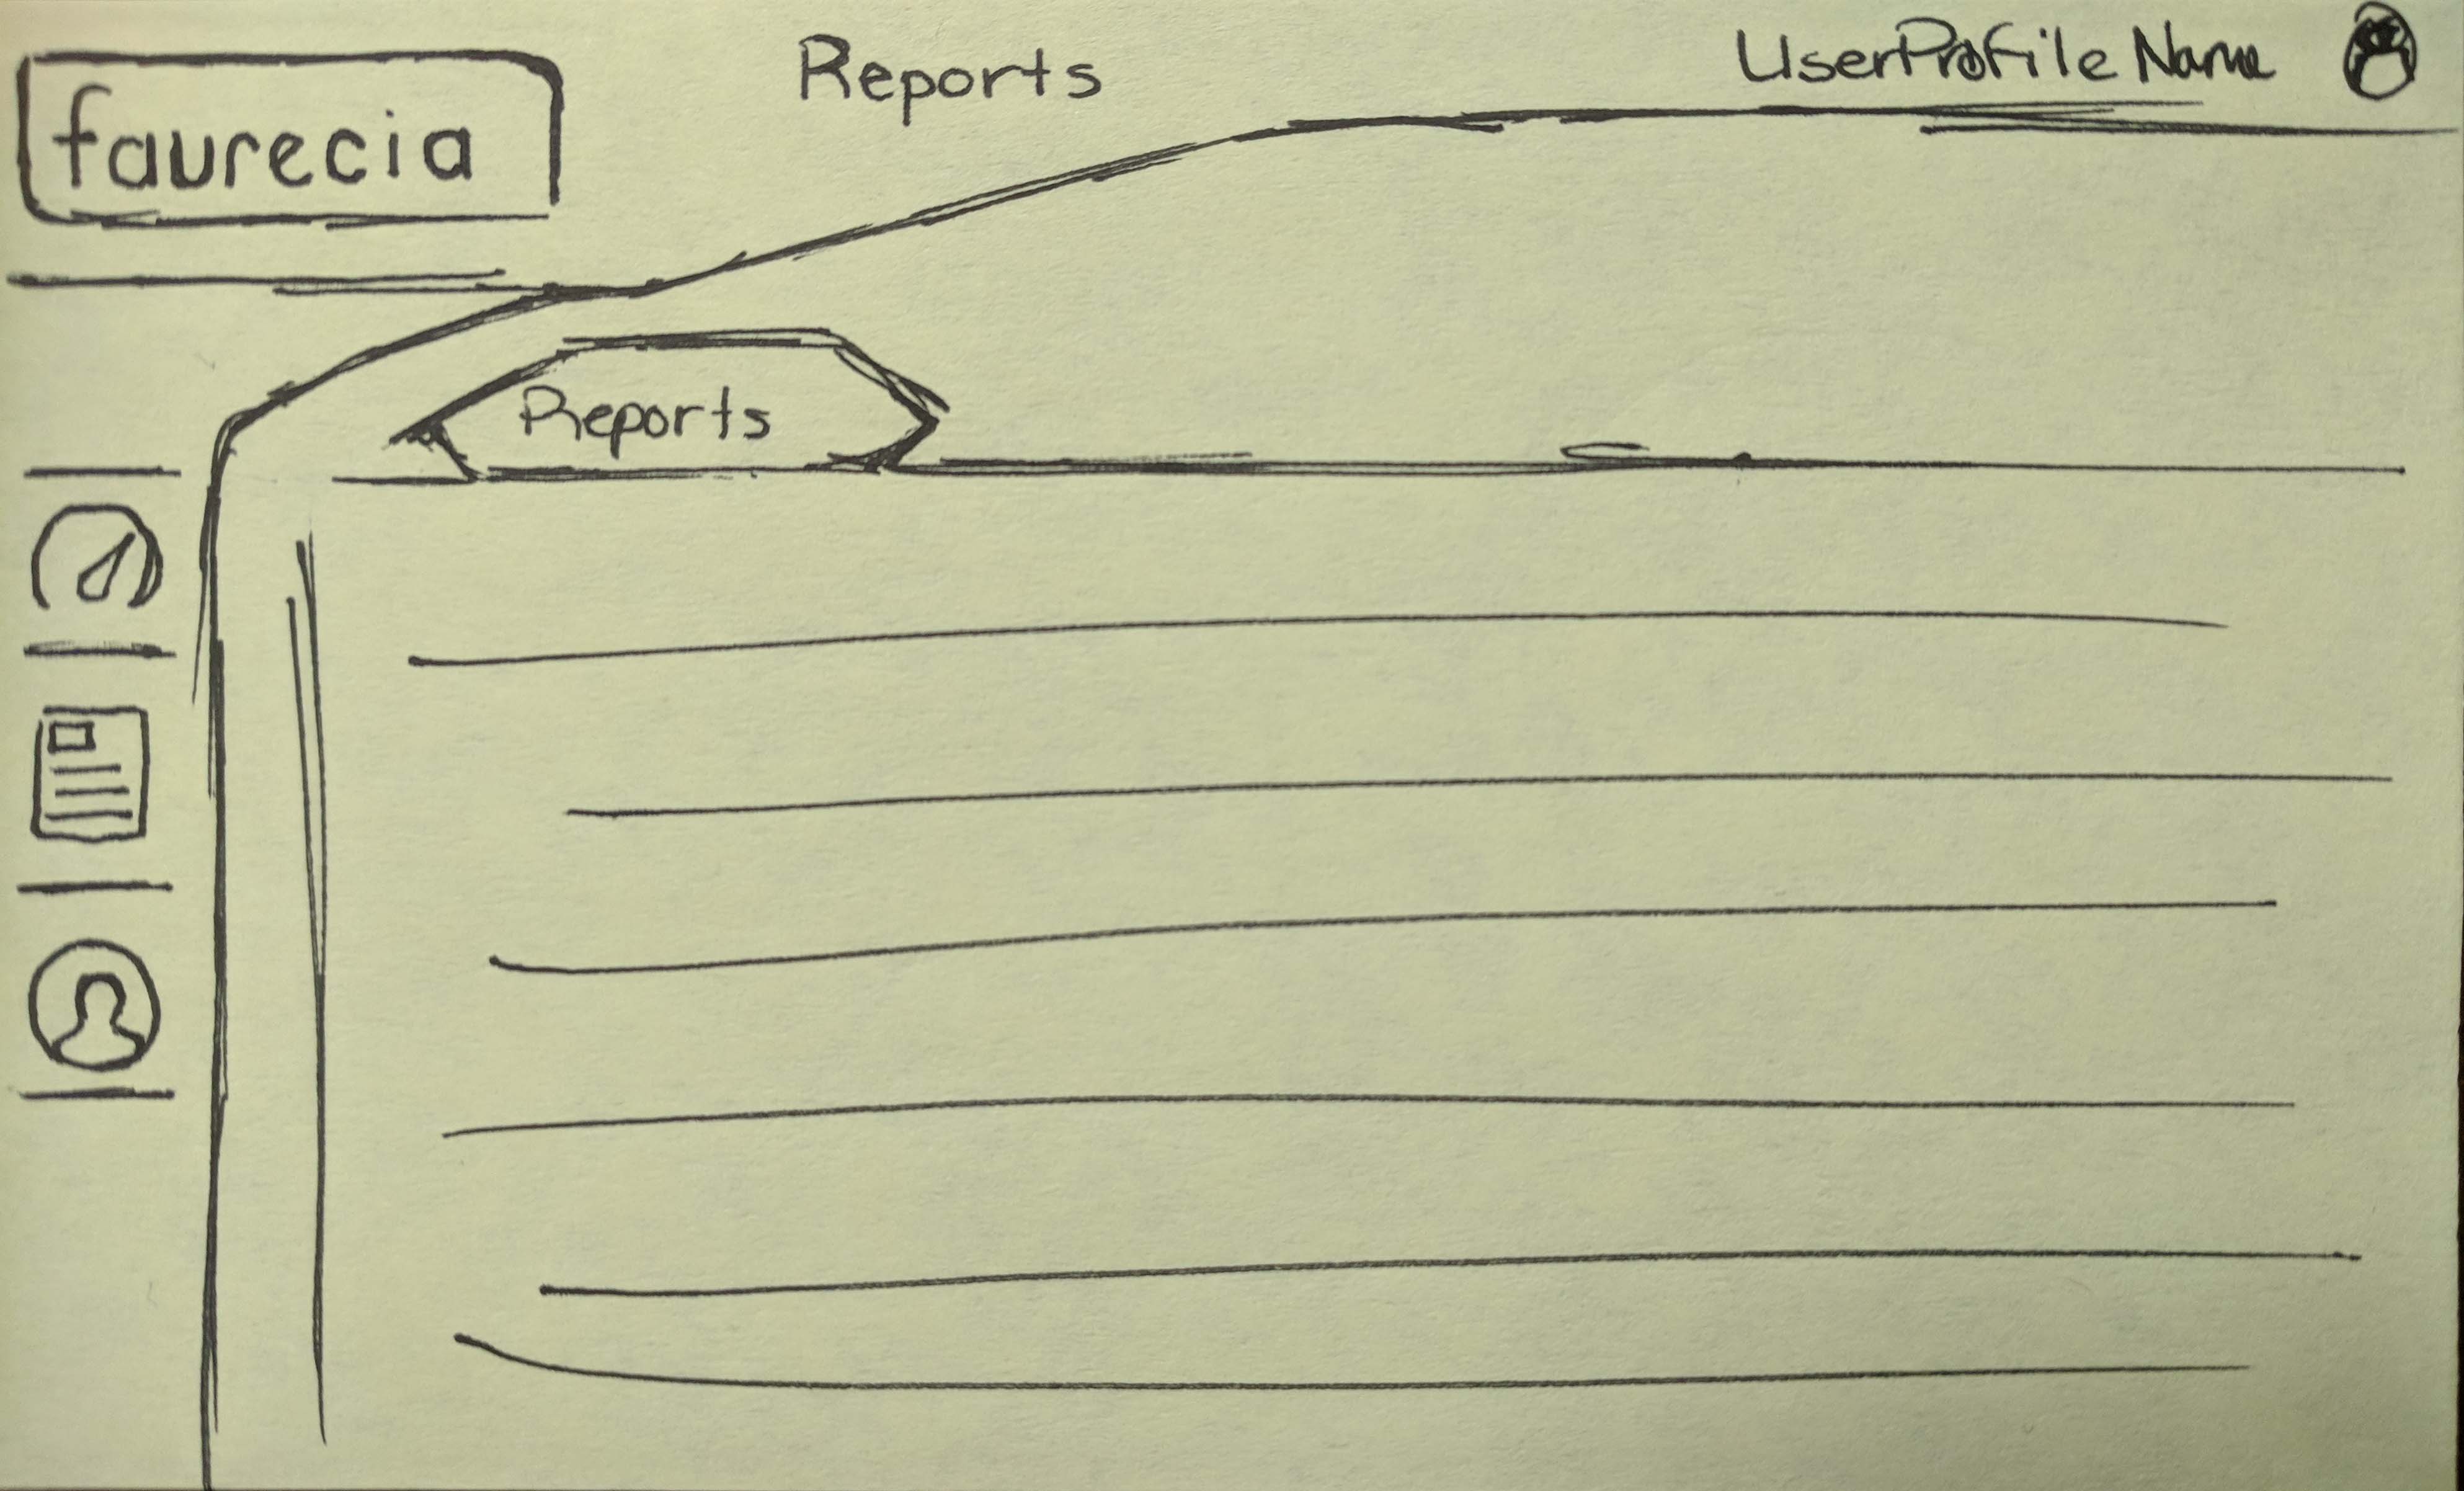
Then I moved into sketching out mockups on sticky notes. This allowed our team to iterate quickly yet still explore different options. We also we able to ensure all features were thought out including how to develop them.
Style Guide
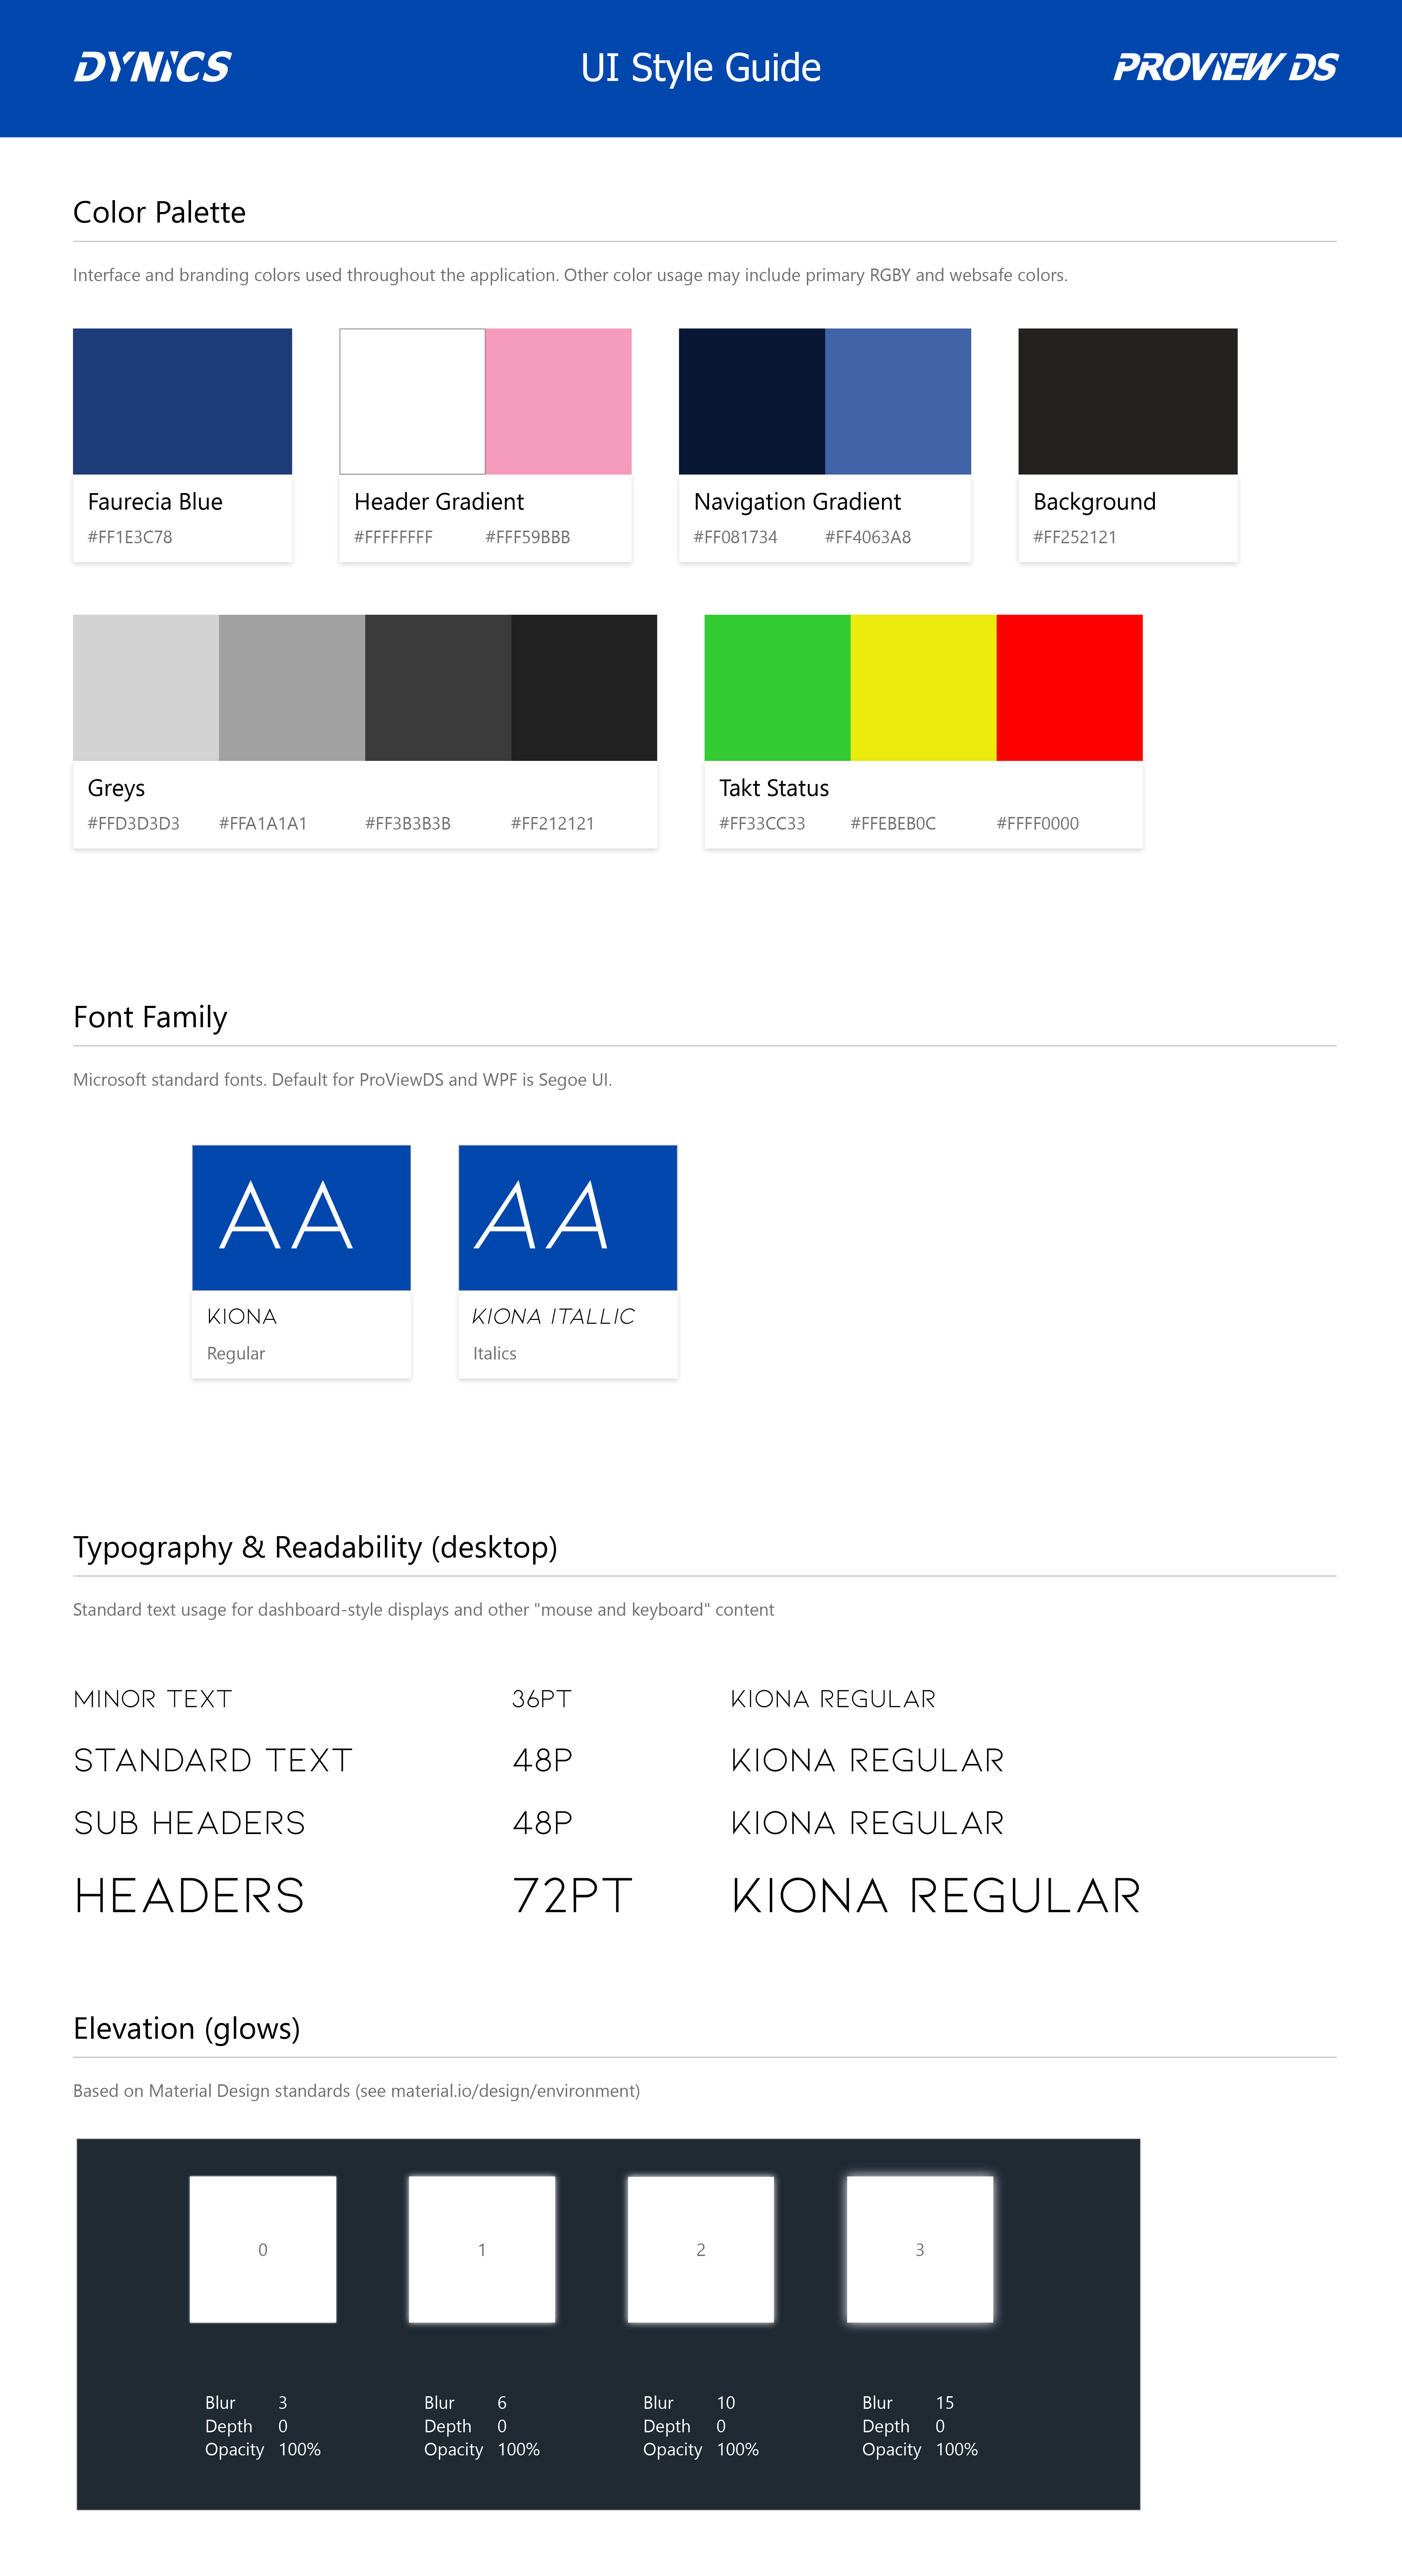
With our standard stylesheet template, the customer's brand colors were added in as well as standard color coding for HMI systems and OEE metrics.
Font stylings were are also finalized for developers to reference. This document along with other development requirements such as Takt time definitions are defined in the project Confluence page.
Polished Layouts
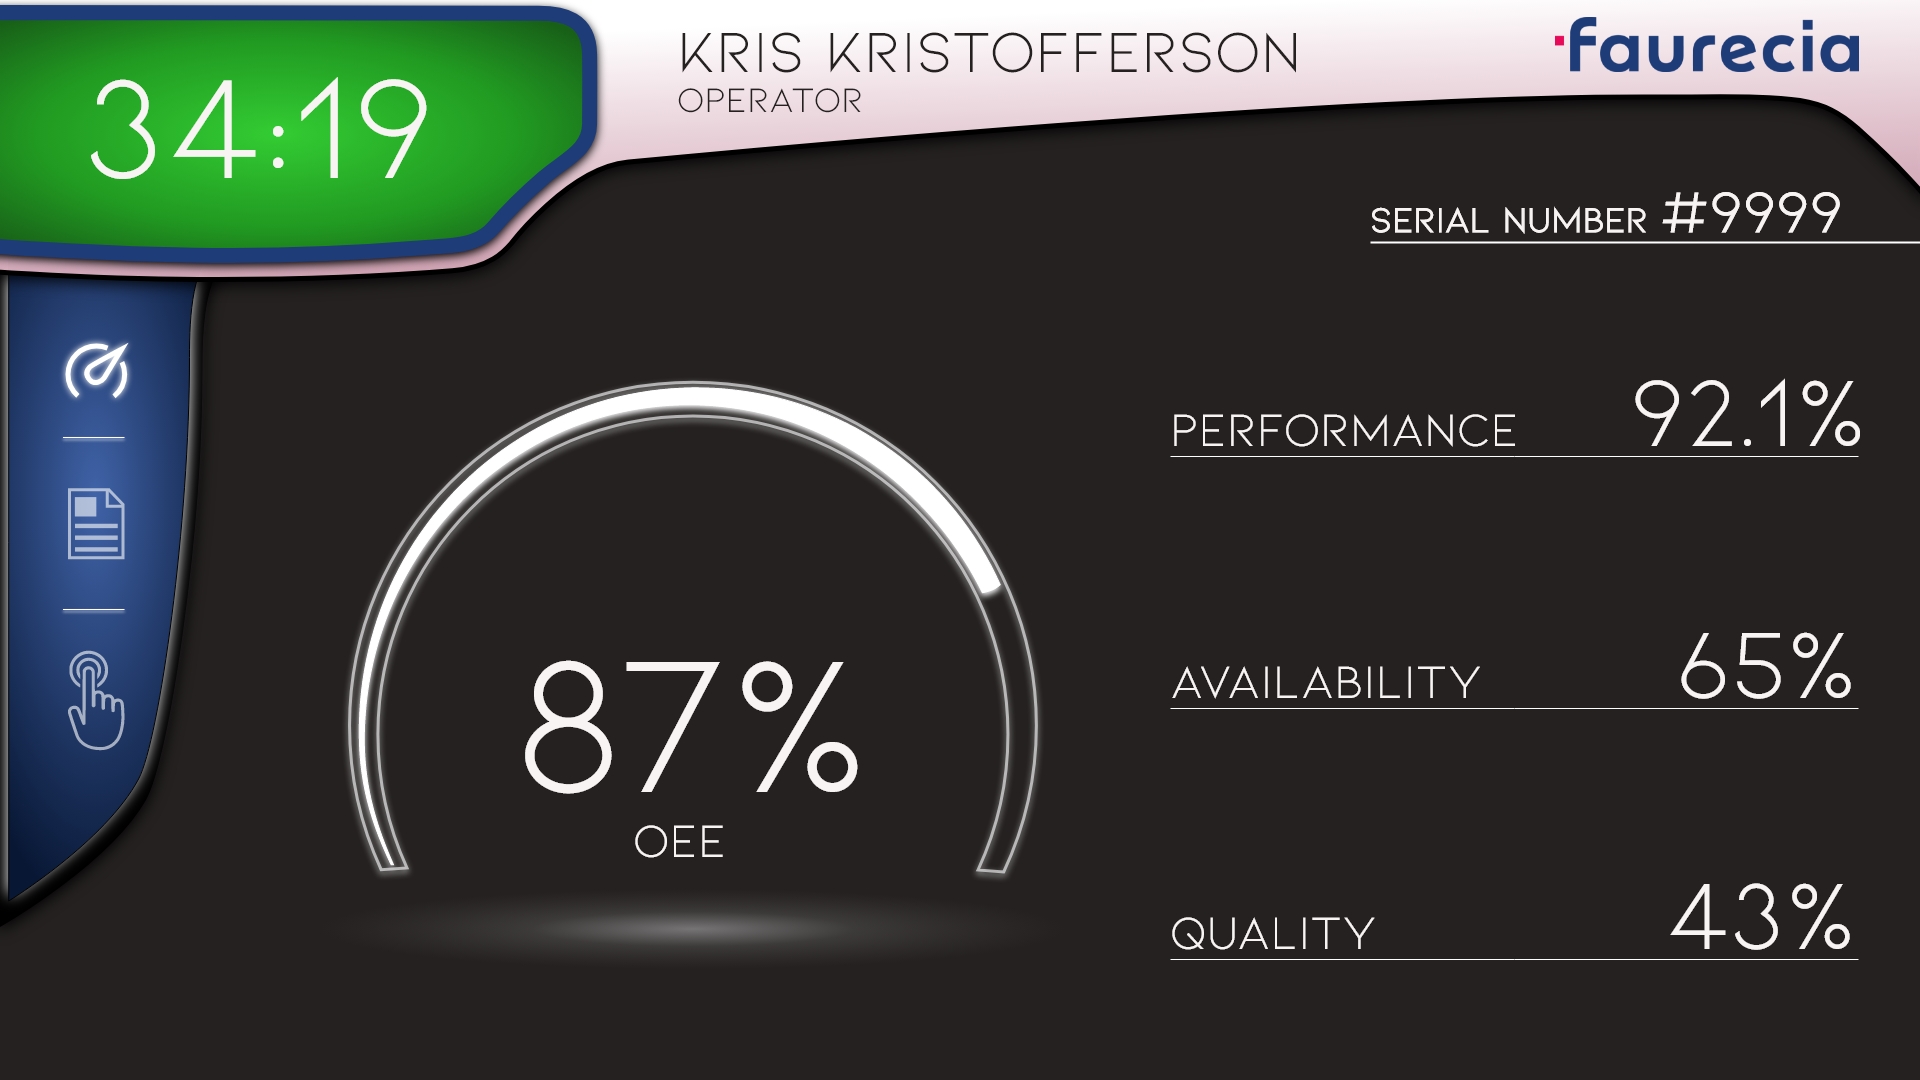
Final high fidelity mockups are created in Adobe XD and then recreated in Dynics custom software called ProViewDS. This main display provides the operator the overall line OEE calculation which is comprised of individual metrics to the right. The look and feel is also inspired from concept vehicle instrument clusters.
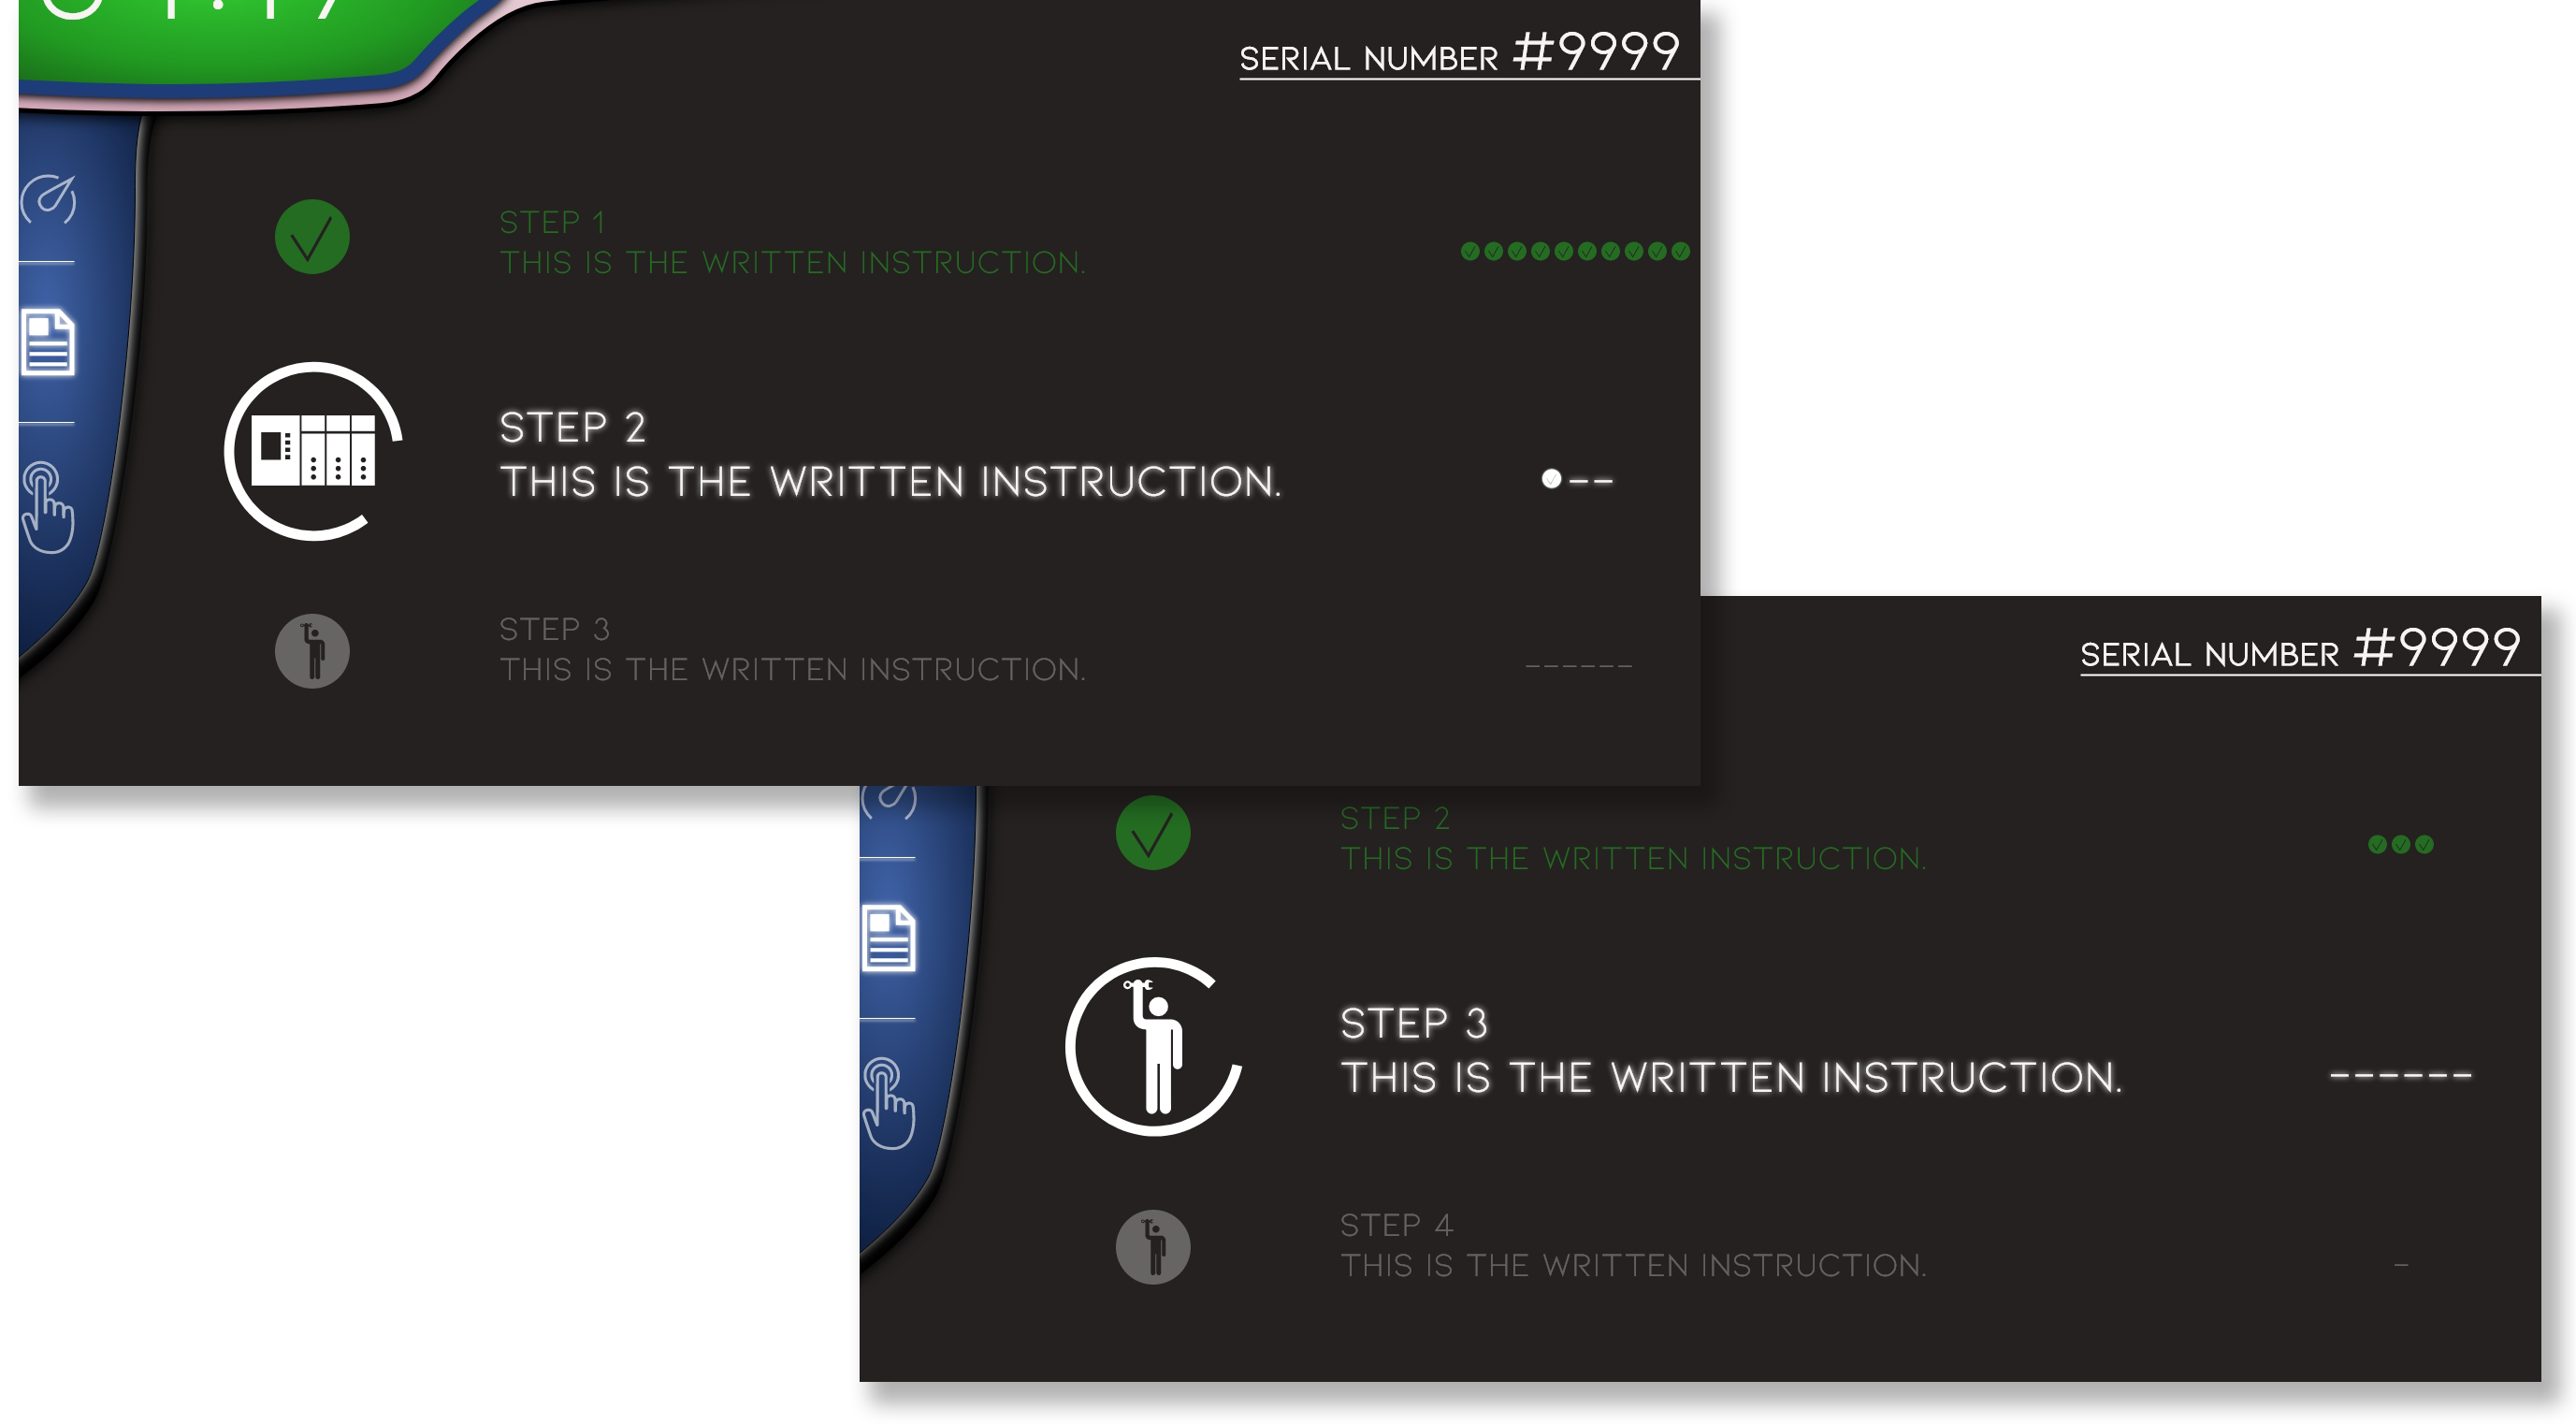
Another feature of this project consists of step by step instruction that informs the operator not only what needs to be done but also if the action will be performed through the PLC or the operator. As the operator moves through each aspect of a step, the system will check off if it was performed properly. When all mini-checkmarks are completed, the ring around the PLC/Operator icon rotates like a loading animation and then moves to the next main phase of the process. These animations were custom controls that I developed in Visual Studio and imported into ProViewDS.
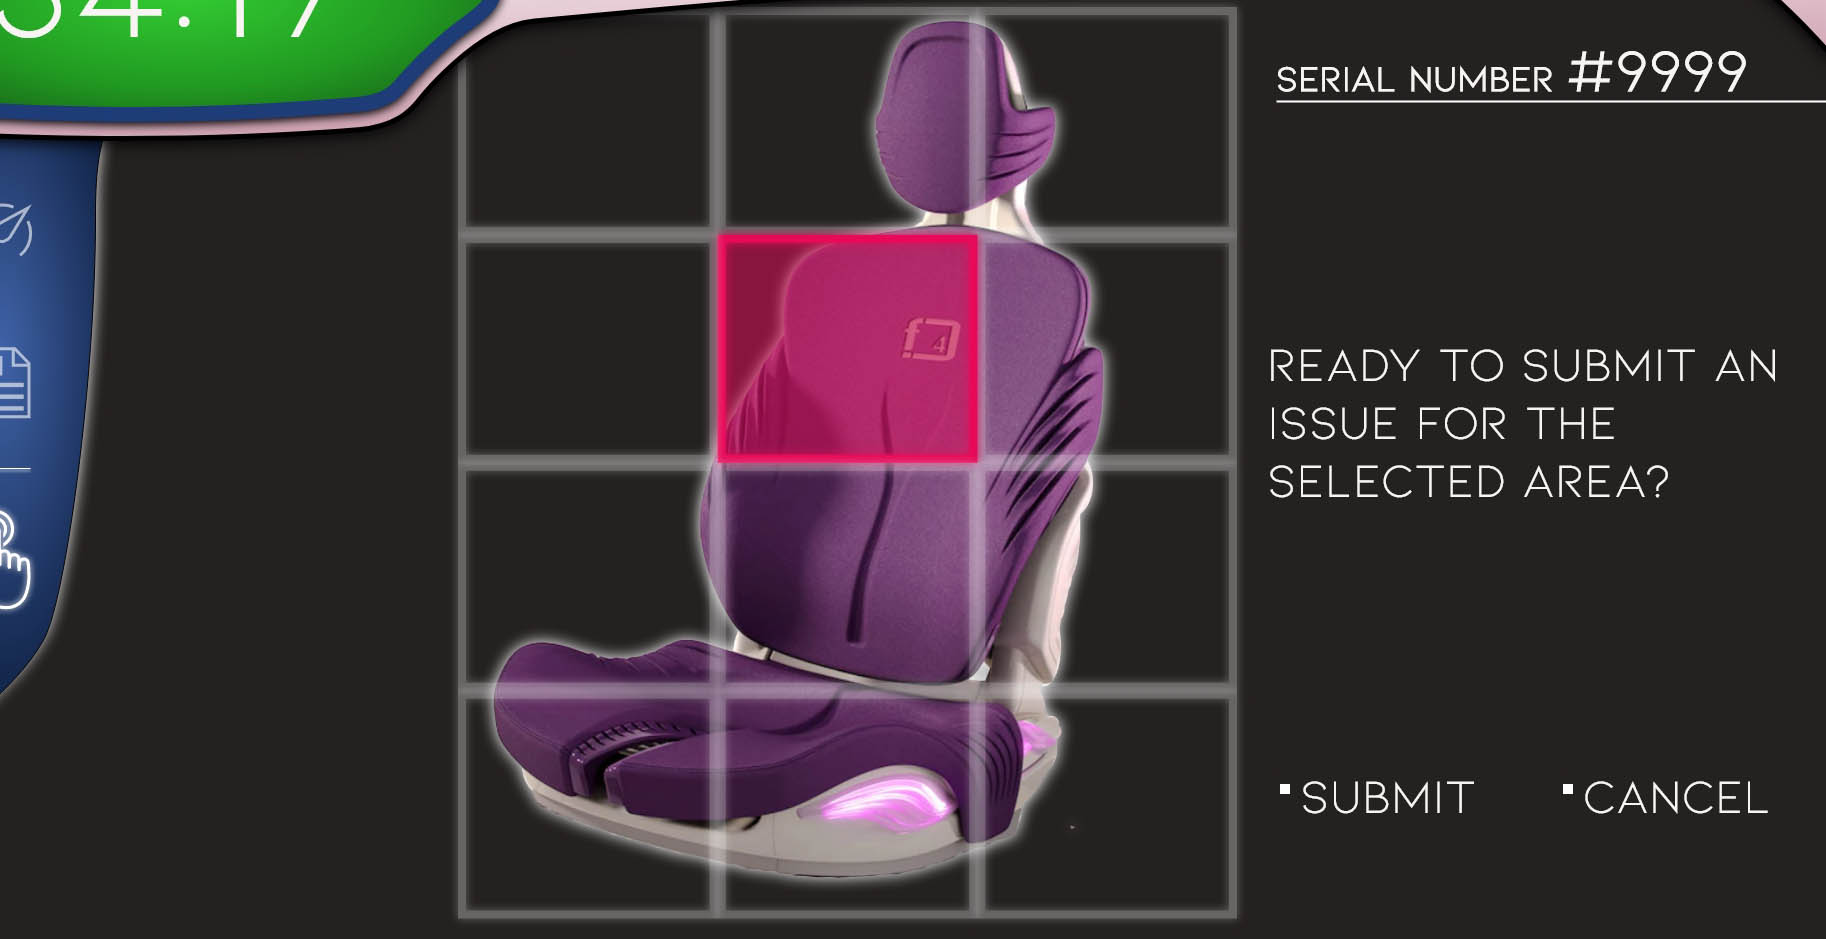
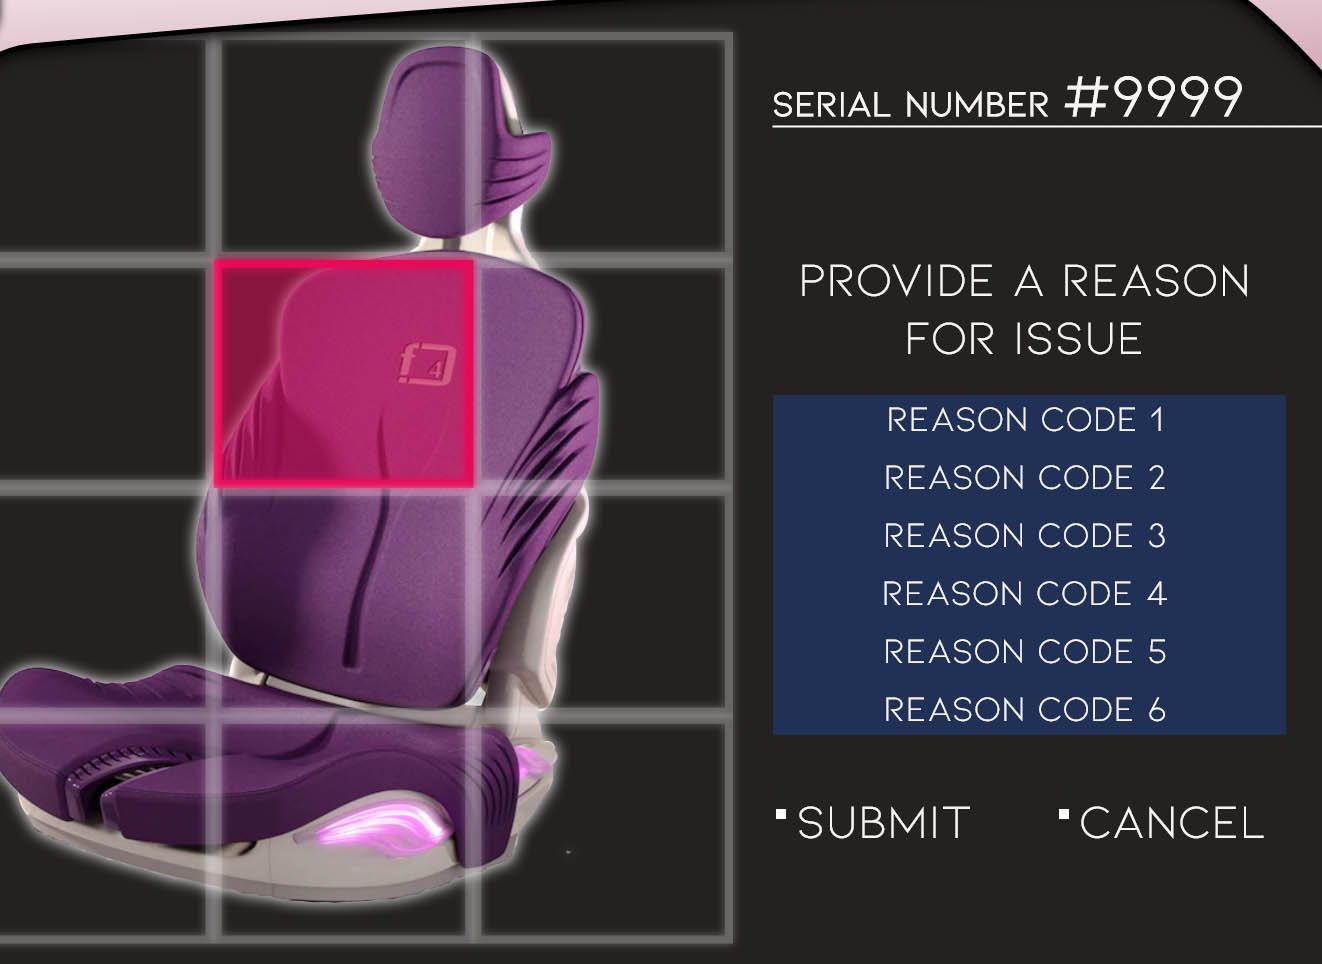
The final main feature allows the operator to quality check parts. The serial number pulls up an image of the part and select an area for scratches, tears, or other forms of damage. The coloring and square icon next to the submit and cancel buttons are using branding from the customer. One is company standard coloring while the other is a graphic element from the company logo. After choosing an area and submitting, operator needs to just choose a predetermined reason code to track part issues and then submit it to the database. From there, the operator can choose another area if more than on errors exist or navigate back to other features.
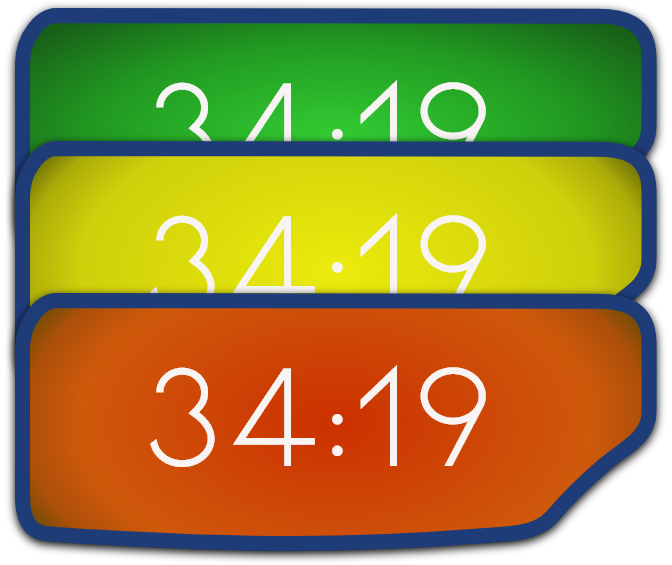
Additionally across all pages is a Takt clock within the header to indicate to the operator if they are on schedule with their work. It uses industry standard coloring to identify within standard time (green), approaching standard time (yellow), and exceeding standard time (red). There is also a white status to signal that the Takt is unknown in times of connection errors.